Precision optics manufacturing covers a huge range of fabrication procedures and testing operations. The process of precision optics manufacturing begins with an idea.
All stock optical components started out as an idea, and each custom unit for precision optics manufacturing is an idea in progress. Once a design is settled on, then precision optical can begin.
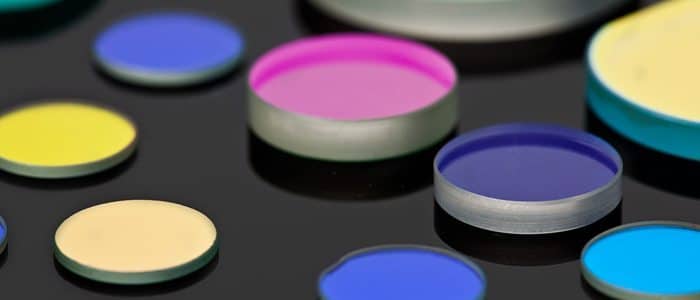
We’ll use a typical spherical lens as an example. The physical process of using precision optics manufacturing to create a high-quality spherical lens starts with creating a rough shape by cutting and grinding it from a glass blank. This can be done with ring tools, or completely by hand. Next, the precision optics process continues with polishing the lens to its final form.
This is normally done by a precision optical process called ‘lapping’, where the rough lens is rotated and rubbed on a tool with the desired shape, with various abrasives and fluids. Again, this can also be done by hand. Hand grinding is the oldest art form of precision optics manufacturing.
Precision optics manufacturing – Covers a Huge Range of Fabrication Procedures & Testing Operations
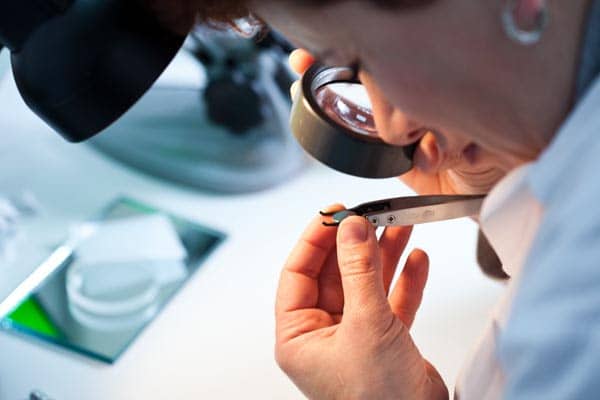
During the polishing process, the lens may be tested to ensure that the proper shape and size are being created and to be sure it is within the desired specifications. Deviations are expressed in fractions of wavelengths. Inexpensive lenses can have quite large deviations, such as 2λ, 3λ, etc… Typical industrial optical components have deviations of less than ¼ wavelength or λ/4.
Precision lenses used in LASERS and holography have deviations of less than 1/10 of a wavelength, or λ/10. In addition to the deviations, lenses must also be checked for surface condition, scratches, and dimensions.
In any unit created with precision optical manufacturing, out of all the components used, the lenses are the most critical, generally speaking. If the lenses are not correct, the unit is useless.


